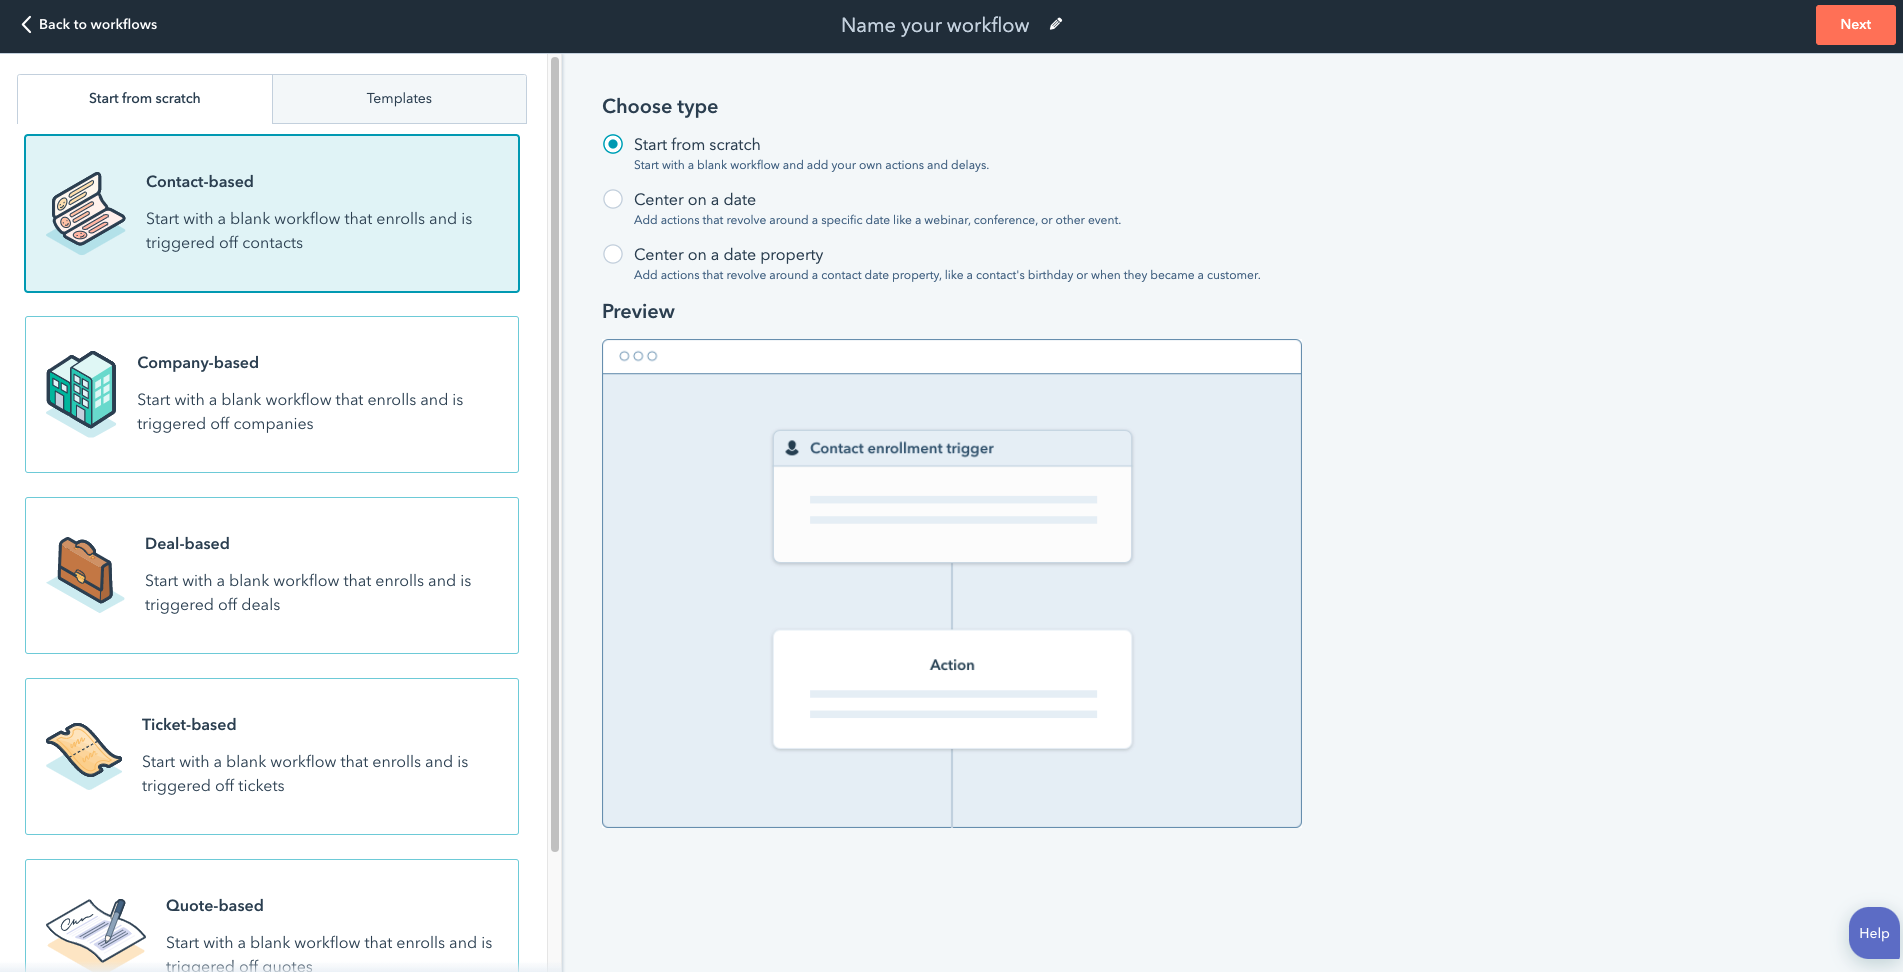
In Automation, go to Workflows, then click Create Workflow. Choose what you want to automate, then set an enrolment trigger for the workflow.
Workflows can help you automate any process and save yourself and your team valuable time. However, the automation access you have will depend on your HubSpot package.
- Free - No Access
- Starter - No Access
- Professional - 300 Workflows Max
- Enterprise - 1,000 Workflows Max
To start from scratch, locate to Automation > Workflows and follow the instructions below:
- Click Create Workflow
- Then choose which object you are wanting to automate, whether that’s contact, company, deal, ticket or quote based.

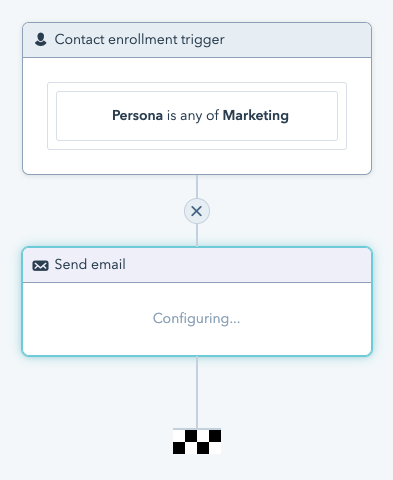
- Select Set Enrolment Triggers and choose how you want to enrol contacts into your workflow. This could be a contact property, company property, email marketing based etc…
- The next step is to choose the next action. Here you can add a delay, If/Then branch, send an email and many more.

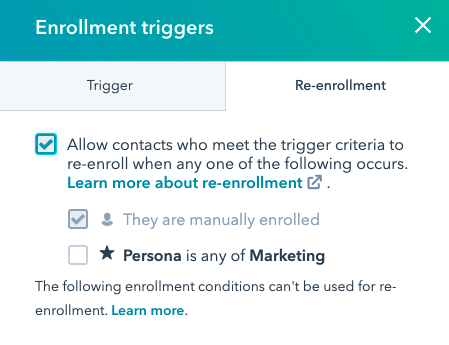
- After you have built your workflow, ensure the settings are correct. For example, if you wanted contacts to re-enroll into your workflow, click on the Enrolment criteria and choose Re-enrolment. Otherwise, click on the Settings tab and choose times and the days you want the workflow to execute along with suppression lists.

- When you’re ready, it’s time to turn on the workflow. When you do this, you’ll see two options:
- No, only enroll companies which meet the trigger criteria after turning the workflow on
- Yes, enroll existing companies which meet the trigger criteria as of now - Choose one of the options depending on the goal of your workflow and set live.
